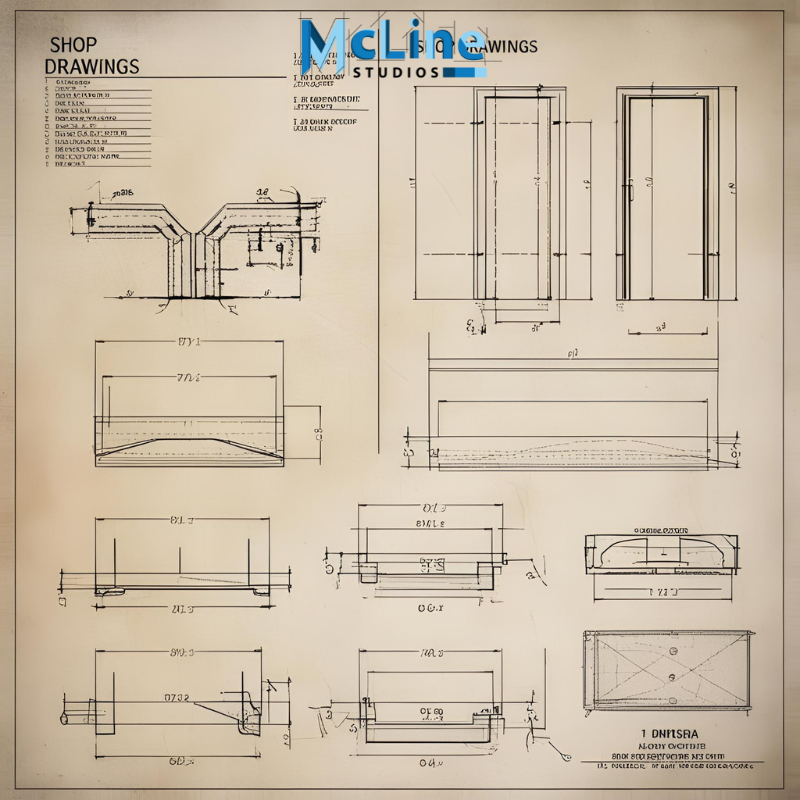
Creating shop drawings for curved and radius millwork is a special skill in the world of woodworking and architectural design. While straight, square pieces are common and fairly easy to draft, curved elements add a level of complexity that requires more attention to detail.
Whether you’re building a curved reception desk, an arched cabinet, or a radius wall panel, shop drawings are the key to making sure everyone involved understands exactly what needs to be built.
In this article, we’ll walk through the process of creating shop drawings for curved and radius millwork, step by step. We’ll keep things simple and focus on practical guidance that you can apply right away.
What is Curved or Radius Millwork?
Curved or radius millwork refers to any custom woodwork that has a smooth, continuous curve. This might include:
- Rounded corners on cabinetry
- Arched doorways or trims
- Curved reception desks
- Radius wall panels
- Circular ceiling trims or moldings
Unlike straight millwork, these pieces can’t be cut directly from flat boards without careful shaping. Because of that, the shop drawings for these elements need to be very precise.
Why Are Accurate Shop Drawings So Important?
Curved millwork is usually custom-made. That means there is no standard size or shape. Every curve must be carefully planned and measured. If the drawing is off even a little, the final product might not fit during installation or might look uneven.
Shop drawings give fabricators and installers clear instructions. These drawings show the exact shape, size, material, and details of how to build the curved parts. A good shop drawing reduces mistakes, saves time, and avoids costly rework.
Step 1: Understand the Design Intent
Before you start drawing, make sure you fully understand the designer’s vision. Look at architectural plans, elevations, and sections. Ask yourself:
- Where is the curve located?
- What kind of curve is it? (Half-circle, quarter radius, oval, or a custom shape?)
- What is the purpose of the curved element? (Decoration, structure, seating, etc.)
Talk with the architect or designer if needed. Understanding the purpose helps you make smart decisions during drafting.
Step 2: Gather Accurate Site Dimensions
One of the most common problems with curved millwork is poor field measurements. For curves to fit properly, you need exact measurements from the job site:
- Wall curvature (radius or diameter)
- Floor or ceiling heights
- Openings for doors, windows, or built-ins
- Any nearby obstructions
Use laser measurement tools or even a 3D scan if possible. If you’re matching an existing curve (like a curved wall), try to get the exact center point and radius, or use a template on-site.
Step 3: Choose the Right Scale and Views
Start your drawing with the right views. For curved millwork, you usually need:
- Plan View (Top-down): To show the curve shape clearly.
- Elevation View (Front): To show the height and profile.
- Section View (Cut-through): To show thickness, materials, and structure.
Make sure your drawing scale allows the curve to be smooth and readable. For example, use 1:10 or 1:5 instead of 1:50 for small, detailed elements.
Step 4: Draw the Curve Accurately
Use your CAD software to draw smooth, accurate curves. Here are a few tips:
- Use arcs or splines, depending on the shape.
- Always label the radius or diameter.
- If the arc is part of a circle, show the full circle faintly to help others understand the shape.
- Mark the center point of the curve and any important angle or chord measurements.
If the curve is non-standard, consider adding a template drawing or even a DXF file for CNC cutting.
Step 5: Add Joinery and Construction Details
Show how the curved part will be built. Will it be:
- Laminated layers of plywood?
- Kerf-cut bending?
- Solid wood segments?
- Veneered over a curved form?
Include cross-sections that explain the thickness, layers, support structure, and fastening methods. Add notes if the part needs a special jig or mold.
Label materials clearly:
- Wood species
- Finish type (paint, stain, veneer)
- Core (MDF, plywood, etc.)
Step 6: Include Templates or Full-Size Patterns
Curved parts are easier to fabricate when you provide full-size patterns. You can:
- Print 1:1 scale PDFs for use as templates.
- Provide CAD files (like DWG or DXF) for laser cutting or CNC routers.
- Use plotted mylar or MDF templates for shop use.
Make sure templates are labeled with scale, alignment marks, and reference dimensions.
Step 7: Coordinate with Other Trades
Radius millwork often connects to other elements like:
- Drywall
- Flooring
- Glass
- Electrical or lighting
Make sure your drawings include coordination notes. For example:
- Indicate where blocking is needed behind a curved panel.
- Show outlets or lighting cutouts in curved reception desks.
- Add notes for installers if curved parts must be scribed to fit on-site.
Step 8: Review and Check Everything
Before submitting your drawings, double-check the following:
- Are all dimensions clearly labeled?
- Is the radius called out and accurate?
- Are materials, finishes, and construction details noted?
- Are the drawings clean and easy to understand?
Have another team member review your drawings if possible. A second pair of eyes can catch small mistakes.
Final Thoughts
Curved and radius millwork adds beauty and sophistication to any project, but it also adds complexity. That’s why high-quality shop drawings are so important. When you take the time to plan carefully, draw accurately, and include all the necessary details, you make the job smoother for everyone, from the fabricator to the installer.
Remember: good shop drawings are not just technical documents. They are communication tools. They tell a story that starts with an idea and ends with a finished piece that fits perfectly and looks stunning.


